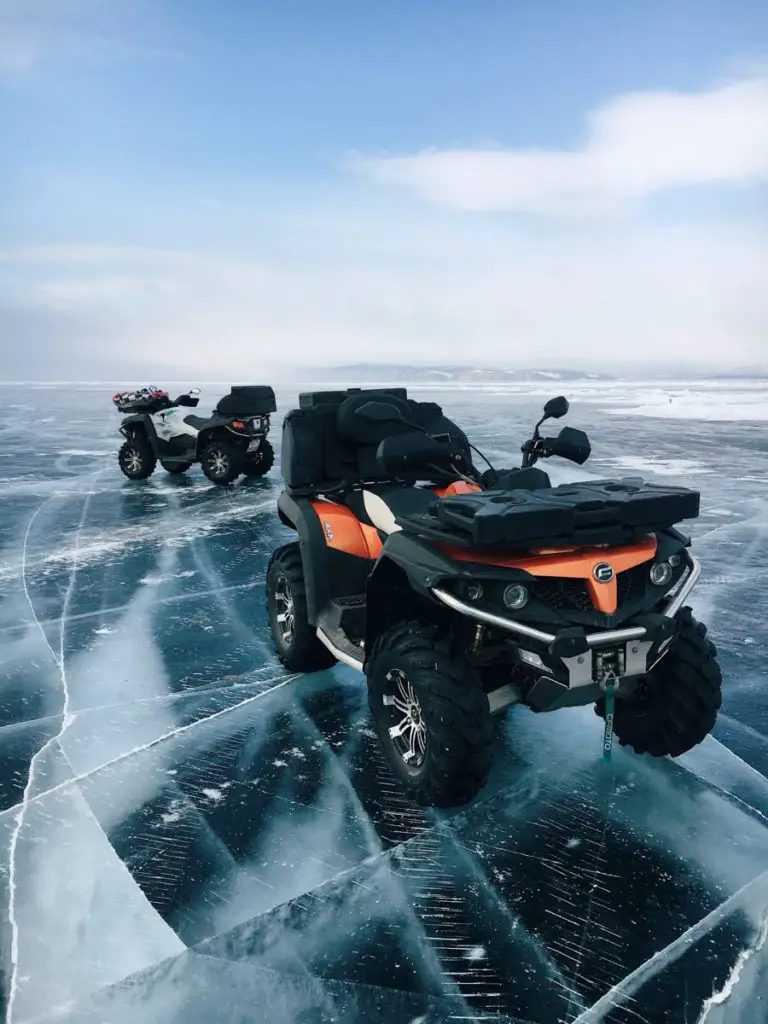
So you’re thinking about going ice fishing or doing a deep water crossing on your quad but you’re worried that you might need to fetch your ride from the bottom of the lake. So the big question is: Will your ATV float?
ATVs under 750 lbs can float themselves but not with the rider. ATVs weighing over 750 lbs, however, will not float without proper flotation tires or devices attached. ATV flotation depends on the size and weight of your ride and the type of flotation you have. Smaller kids ATVs might float.
If your quad sinks in the water without a snorkel kit, you’re in for a lot of work to dry off your ATV after you pull it back out.
An ATV that is submerged in water for long periods of time will develop rust and corrosion, causing permanent damage and yielding the quad unusable.
How to Float Your ATV
You’ve spent good money on our ride and the last thing you want is to have it destroyed by mother nature. If you’re going ice fishing, the clock starts ticking the moment you fall through the ice. Investing in proper ATV floating systems can allow you to enjoy the outdoors while keeping you and your ATV safe.
Luckily there are ways to get your ATV floating safety. Let’s discuss each method in some detail:
Flotation Tires
Probably the simplest and easiest way to get your ATV floating is to install a set of high flotation tires. These types of tires are wider and have a larger volume which helps to displace more water and increase buoyancy. In addition, they have a large contact area when partially deflated. This decreases surface pressure, making your quad “float” easier on soft ground.
Keep in mind that more air in the tires does help to increase flotation but what’s more important is the actual surface area and water displacement that affects buoyancy.
For optimal mobility in the water, choose flotation tires with threads designed like paddles. This gives you maximum control and speed.

Floating Devices Attachments
Flotation can be added to a 4 wheeler using attachments. A typical ATV requires 5 cubic feet of flotation. Flotations are usually mounted equally either front and back or side to side.
The best flotation material to use is styrofoam. You can also try pre-made foam filled nylon cases or DIY your own flotation box. Here are some things you can try:
- Create your own (DIY) flotation box using 2x4s and 7/16″ Oriented Strand Boards (OSB). Fill it with styrofoam sheets that are cut to size and mount 1 box at the front of the ATV, and one at the back (or side to side).
- Use a professional flotation device such as the Nebulus Emergency Flotation Device. This device is designed to be strapped on to your ATV and in an emergency, you pull its handle to inflate it. It’s designed for emergency situations and can support up to 3 adults and the ATV. Be aware that it won’t prevent your ATV from going underwater but it also won’t let it hit the bottom of the lake.
- Bear Claw Tours create flotation attachments for ATVs. They create custom brackets that are bolted to two large flotation cylinders. This is then attached to your ATV, allowing it to float.
Create Your Own ATV Flotation Boat
The guys over at the youtube channel Cottage Life created their own ATV floating boat out of wood. They have designed it in such a way that the back wheels of the ATV is positioned to spin a set of axles which then turns the boat’s waterwheels. This allows the ATV to power through water like no body’s business. Check out their video below.
Create Your Own Flotation Cylinders
You can create your down flotation cylinders by using large sculpting styrofoam cylindrical blocks. The following is a list of cylinders that you can create.
Option 1: Two 6” diameter x 152.5” long cylinders
Option 2: Two 8” diameter x 87.5” long cylinders
Option 3: Two 9” diameter x 67.5” long cylinders
Option 4: Two 10” diameter x 55” long cylinders
Option 5: Two 12” diameter x 37.5” long cylinders
Option 6: Two 14” diameter x 32.5” long cylinders
Note: The length of each cylinder depends on its diameter. You only need to create 2 cylinders but they need to be the same size. The above guidelines are provided by the Dane County Sheriff’s Office.
Caution: Flotation works best if it’s hard mounted to the ATV. This includes the use of bolts, custom metal brackets, chains or cables. Lighter duty hardware such as nylon straps, bungee cords or ropes can fall off easily, adding risk for your ATV to sink.
ATV Tire Extensions
You can add tire extensions to your ATV to increase its floating capabilities. An ATV tire extension, such as Jwheelz, increases the surface areas of your wheels. This works great to increase flotation on soft soils and shallow waters. It also helps to increase your ride’s snow traction.
You still need to check and test your ATV in deeper waters to see if it will float 100% even with the tire extensions installed.
In all options listed above, it’s a good idea to invest in an ATV snorkel kit which will keep water out of your air box, intake and exhaust portals. Water that gets into these components may cut off power to your ride. A snorkel kit allows you to wade through water while maintaining healthy airflow for your engine.
How to Ride an ATV in Water
If you’ve chosen to install tire extensions or use bigger flotation tires, here are some pointers for riding your ATV in the water:
- Once in the water, your quad can be balanced by shifting your center of balance towards the middle.
- When push on the throttle, pull on the handle and lean back. This will tip the front of the ATV up, giving you good control with the steering.
- With the tip up, the back wheels of the quad will be fully submerged in water, making it more effective for your ride to swim.
You’re going to need to play around with your ride to see what its capabilities are in the water. Good luck and have fun!


